Sunday, 28 April 2013

Tree Decor

Tree Decor is art from waste craft. I have used old glass bottles and dead branches of a tree.

Thing's you'll require to do :

Glass bottle - old or any other vase
A small branch of a tree 
Colors - Black, red , gold
Varnish 

My holy basil tree died of scorching heat, so I used them as a home decor. This is used for two purposes, one as home decor and another as my earrings holder. Now I am using it as earring holder, hanging my cute jewelry on branches.

I painted the glass bottle with black as base, and then gold paint on it. It's always looks good if we are using base as black or white on glass bottles or for  any crafts.

Painted my tree with black and red, and its look cute as though bought it from stores.


Tree Decor 

Glass bottle - painted in gold
Close view of Painted tree

Tree Decor with gold glass bottle Vase


Thursday, 11 April 2013

African Painting


African Painting

I have used glass colors and acrylic colors. I love this tribal painting.


African painting - side view

African Painting 


Monday, 1 April 2013

Recylced Bangles - Part 2 ( stone bangles)

How to do Stone studded bangles:

Thing's you'll require:

1) stones  - ( color as you desire, I used left over stones)

2) glue

3) Glitter powder ( optional - but it adds more glow to your recycled bangles.)

4) old bangles

Multicolor Stone bangles

Lime Green yellow stone bangles

Recycled Bangles


Note: I haven't used here any glitter powders. But if you are doing it with glitter powders it enhances the beauty of your bangles.


Bookmark: How to make your own Bookmark

How to make your own Bookmark

Things you'll require are:-

1) Cardboard ( waste one because you need to draw the designs on the cardboard)

2) Invitation card designs or stickers of your choice


Bookmarks - Vintage girl

Vintage girl bookmark - waste invitation card crafts

Instructions:

1) Draw any cartoons or your personal favorite figures on the cardboard. I drew a vintage girl because this was 15 yrs old bookmark. I did this bookmark during my school days.

2) I painted using watercolors and cut out the many designs from the invitation cards.

3) Finally decorated the girl with cut out designs and glitter pens for her jewelry.

4) Once you completed the design, you could highlight using glitter pens of same color.

Here, I have used baby pink for her long skirt and outlined using pink and green glitter pens.

Popsicle/ Ice-Cream Stick Coasters


I did this Tea Coasters using Popsicle sticks.

Things you'll require is

Sticks - 9 ( I have used 9 for a circle, and if you want short coasters too you could prepare)

Glue

Painting colors of your choice


Popsicle stick coasters

Close view of Popsicle coasters

How to do this:

1) First arrange the sticks vertically on a single horizontal stick.

2) Now draw a circle using any round device or CD or  Jar caps or compass. ( I used my compass, yes the mathematical device)

3) After completing the circle, cut it out , and allow it to dry for an hour or leave it for one day.

Why I am saying these coasters to dry completely for one day is because it would be more stronger and not in a breaking condition or rip apart while painting within few seconds.

4) Paint your own designs to it. I love vintage designs, so for my Popsicle coasters I want my version of vintage roses.

How about this Vintage roses Popsicle Coasters? Do you like this idea? Please feel free to comment about it
Blue vintage roses - Popiscle stick coaster

Yellow vintage roses - Popsicle stick coasters

Orange vintage roses - Popsicle coasters

Green vintage roses - Popsicle stick coasters

I have applied Final varnish to coasters for long lasting.
Popsicle/Ice-cream stick coasters 

Friday, 29 March 2013

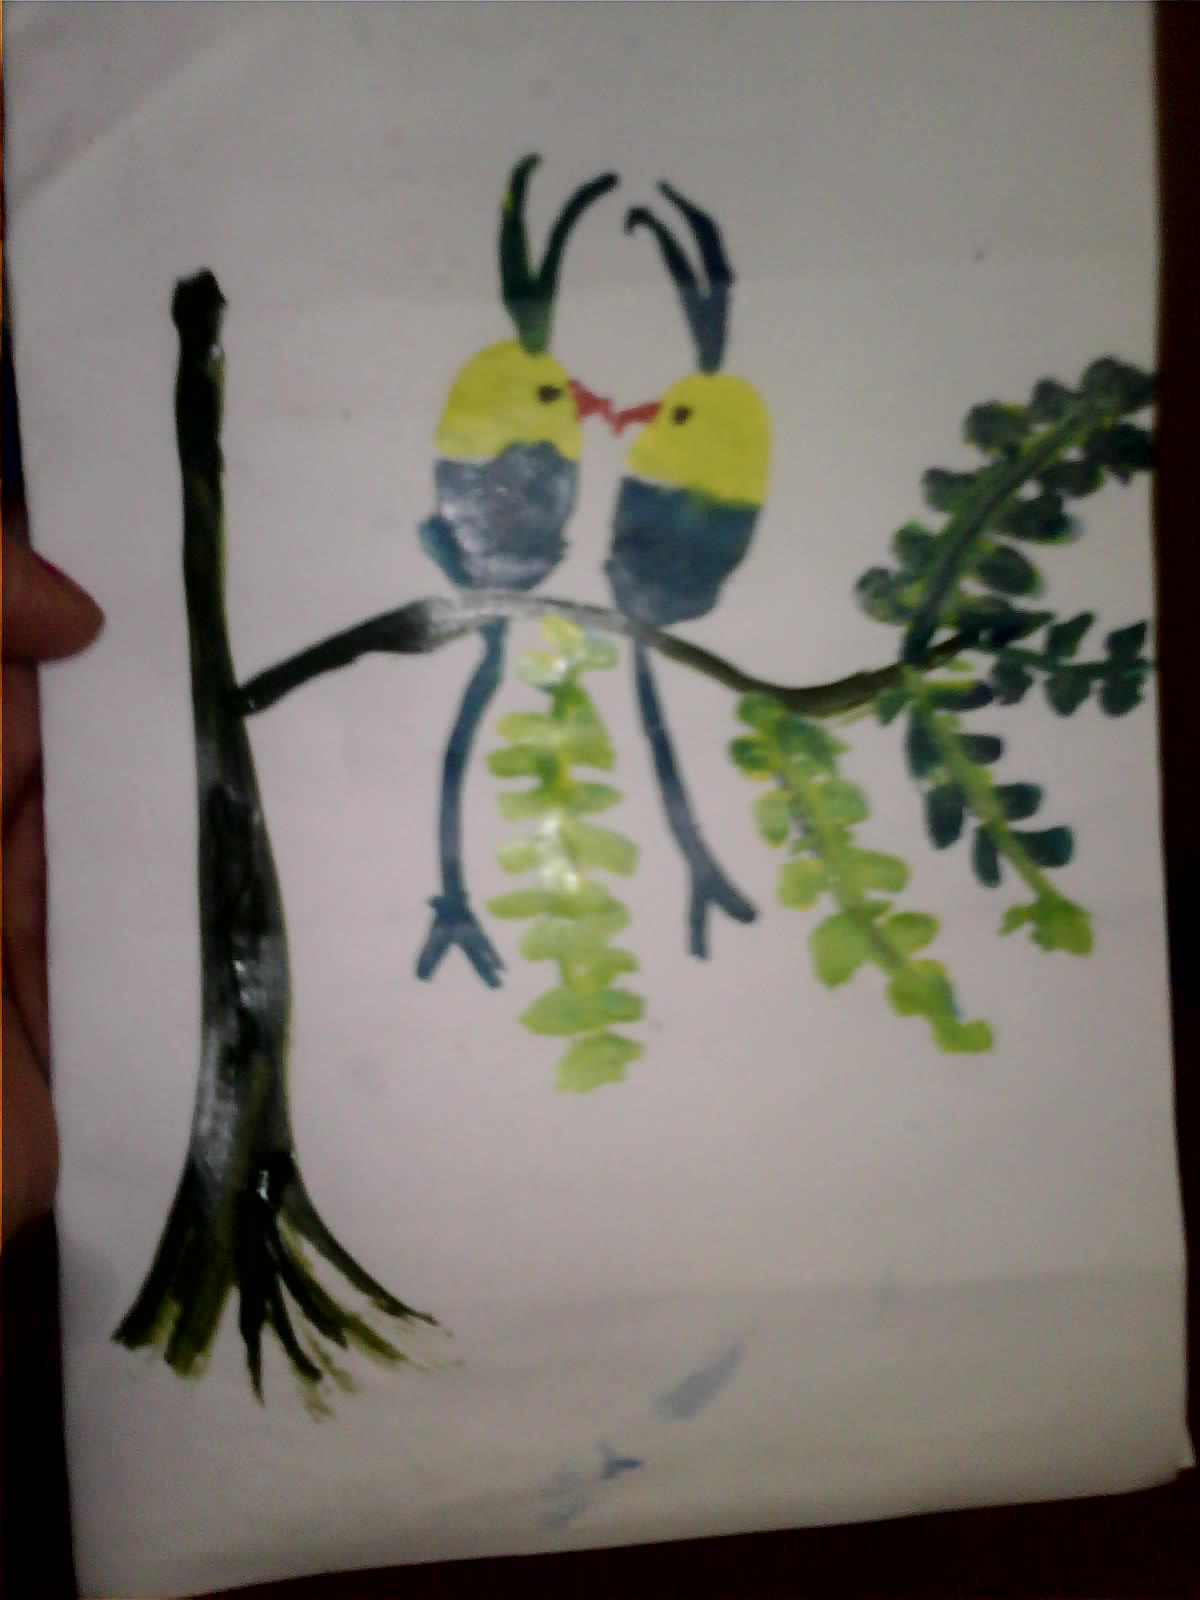
Thumb Print painting/ Finger paintings

This thumb print painting was done using my fingers. Just paint your fingers with your desired fabric or acrylic color, and press them on fabric or paper or wherever you prefer to design. Just Press it and add stems, or additional details to it. 


Red Floral - Thumb print painting

Thumb Print paitning

Thumb print painting on Popsicle stick pen stand

Thumb print painting on cards

Two Birds on a tree - thumb print painting

Have a great fun with  finger paintings!!!

Wednesday, 20 March 2013

Cardboard Guitar - How to make Cardboard Guitar - Craft from Waste

This miniature Guitar made from my left over cardboard photoframe pieces, popscile sticks, yarn threads.

Things you'll require:

Waste Cardboard or thick sheet

Popsicle stick - 1

Yarn or Woolen thread.


1) Draw a guitar outline in a cardboard. For  bottom portion I have drawn  dumbbell oval shape and for Top portion a rectangular long piece.

2). For head portion, I have cutted out six small strips and pasted backside of it.

3) On the long rectangular piece, I have cutted out again small strips which I have painted it as red.

Guitar 

4) I have cutted two popsicle sticks small piece, in which I have pasted yarn yellow thread.

Guitar decorative piece

Guitar - from waste cardboard, yarn threads, Popsicle sticks

Guitar - art from waste decor


Paper Box

Paper box - using waste invitation cards/magazine papers


Paper box with lid 

Wedding Invitation  card box with lid
I did this paper box using waste invitation cards..

Multicolor Stone bangles - Recycled Bangles

Instead of throwing your old bangles you could create new bangles by pasting stones, and glitter powders.

I created this bangle using stones and glass paints.

Multicolor stone bangles - DIY

Kundan stone bangles - DIY

Popsicle/Ice-cream stick pen stand


It's quite easy to create Popsicle Pen Stand. You could color your penstand with any stickers or paintings or clay art of your choice.

Using my thumb I painted my Popsicle pen stand sides.

Just paint your thumbs with red or pink or purple or colour of your choice.

PRess your thumb and now you could create leaves and pollens


Popsicle stick Pen stand - with thumb print painting

Popsicle stick pen stand

Popsicle stick pen stand
Ice-cream stick pen stand

Popsicle/Ice-cream stick pen stand


EggShell Mosaic Photoframe

I love creating art from waste materials. I just came across a photo frame made with mosaic, and it strikked me out to create a frame from waste materials. So, I did it with eggs and it turned out creative frame.

Things you'll require:

EggShell - 1 or 2

Cardboards - ( I used waste cardboards i.e from old diary)

Paintings - you could use fabric or acrylic paints ( colors of your choice)

Varnish - It looks glossy and it lasts for long if your coating your frame with Varnish

I used my left over door varnish, you could use any varnish .

Egg shell frame

Egg shell Mosiac frame

Egg shell photoframe

Egg shell photo frame  - DIY


Before sticking Eggshell in your frame, wash gently with soaps or soak them in soap water for about 2 to 3 hours. Because, I prefer odorless Eggshell. 

Take a Cardboard, and just measure your photo size and with one inch less than that cut the cardboard . (i.e Middle portion of Cardboard)

Now paint your Cardboard frame using any colors. 

Stick your photo from back of the cardboard. I used my photo with ohp sheet so it looks like glass photoframe.

Stick your egg shells on the frame, and paint with the colors you prefer. 

Allow it to dry for some time, and Varnish your frame.

Note: Varnishing any frame or products lasts for long time. You could also varnish for your clay art to any paintings.


Krishna Radha Paintings

Krishna Radha Painting

Krishna Radha Glass paintings
I use glass colors, Acrylic, Fabric colors for my paintings.....

Friday, 1 March 2013

Popsicle/Ice-cream stick Lamp ShadowP

Popsicle/Ice-cream stick Lamp Shadow:

This is easy to do craft, and can be prepared with Popsicle sticks ( 2 packets). 1 packet consists of 100 sticks and its just 5 bucks.

Popsicle sticks - 2 packets ( 1 packet consists of 100 sticks)

Glue- Fevicol

color lights - 1 ( you could get in electrical shops or fancy stores)


You can prepare Ice-cream sticks lamp of different shape you desire. I used hectagon shape and place the sticks one after the other .Once you completed two rows, you could place the sticks slightly for three to five rows. Prepare another one like this of same shape , and stick both the bowls, and you would gett beautiful Popsicle lamps
Popsicle/Ice-cream stick lamp shadow

Popsicle Lamp Shadow

Close view of Popsicle lampshadow


For other Popscile or Ice-cream sticks craft, check here